Metadata example: Question Style
|
|
 Before you can use this example, you must add a Dropdown List metadata type named "Question Style" in your ExamDeveloper project.
This metadata field asks the author to indicate whether the questions generated by Item Assist should contain scenarios.
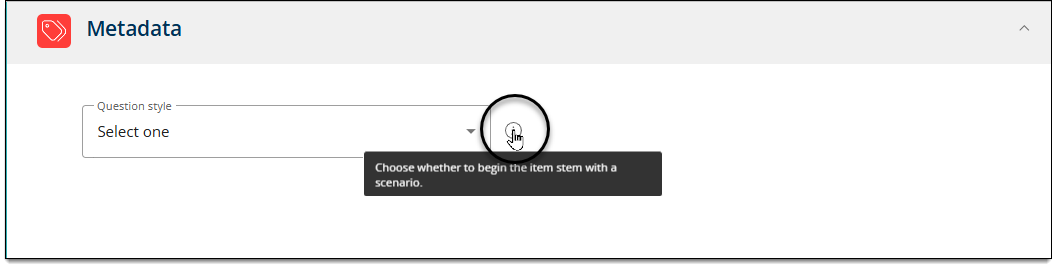
Summary of configurations
Below is a summary of the content to add in each field on the Metadata configuration page in Item Assist.
- Context: Choose whether to begin the item stem with a scenario.
- Scenario: Begin the stem with a scenario. The scenario will occur before the question sentence. [Add details about what the scenario must be about here, if desired. Then remove the brackets.] All details of the scenario should be necessary for correctly answering the item. End the stem with a question about the scenario.
- Non-scenario: You must not include any scenario.
Detailed instructions
- Make sure you have added a Dropdown List metadata field named Question Style in your ExamDeveloper project. Learn how to add metadata to a project
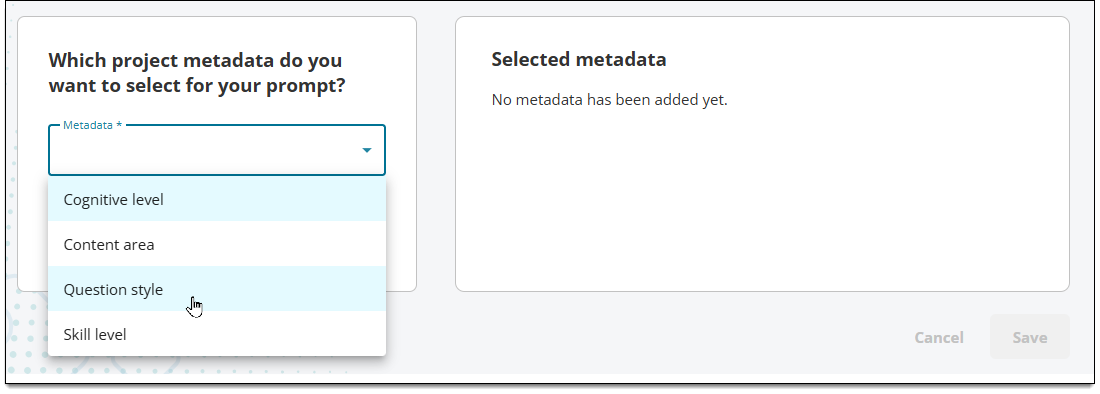
- In the Add metadata area, click the Metadata menu and select Question Style.
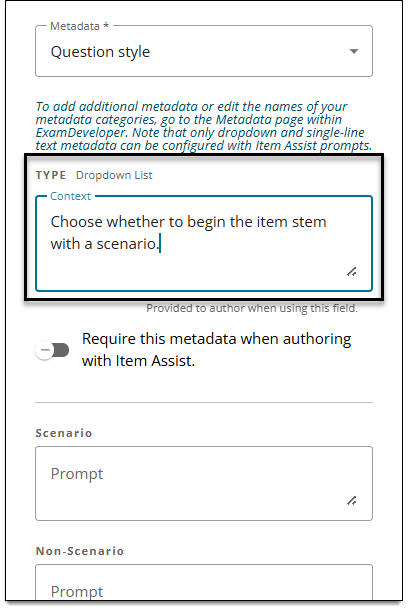
- In the Context field, input something like: Choose whether to begin the item stem with a scenario.
- The text you provide will appear in the Item Assist authoring prompt when authors hover over the tooltip.
- The text you provide will appear in the Item Assist authoring prompt when authors hover over the tooltip.
- (Optional) Select Require this metadata when authoring with Item Assist if you want to require authors to apply the metadata before generating items.
- Input the following instructions for each option in the corresponding Prompt fields. The instructions will be used by Item Assist to generate items. (The content is not visible to authors.)
- Scenario: Begin the stem with a scenario. The scenario will occur before the question sentence. [Add details about what the scenario must be about here, if desired. Then remove the brackets.] All details of the scenario should be necessary for correctly answering the item. End the stem with a question about the scenario.
- Non-Scenario: You must not include any scenario.
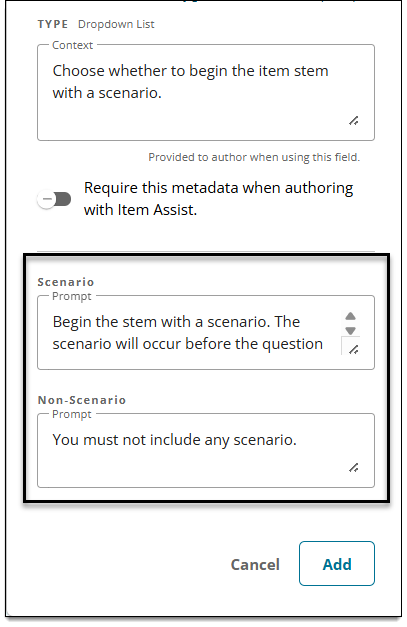
- Click Add. The metadata is now shown in the Added metadata section.
- Click Save.